Linux
Please check the following page for the old SQLFlow installation:
Older Version SQLFlow Under Linux
Click here to view the Older Version SQLFlow Under Linux documentation
If you have SQLFlow 5.x installed on your server and would like to upgrade to SQLFlow 6.x, please refer to this page:
Starting from SQLFlow 6.0, we have integrated web packages into the backend service, no Frontend installation and nginx configuration is required!
Prerequisites
- SQLFlow on-premise version
- A linux server with at least 8GB memory (ubuntu 20.04 is recommended and other versions such as Ubuntu24 is also supported).
- Java 17
- Port needs to be opened. (The default port is 8165 but you can customized this port)
Setup Environment (Ubuntu for example)
1 2 3 4 5 | |
CentOS
Upload Files
create a directory :
1 2 | |
upload your zip file including backend and frontend file to sqlflow folder, and unzip like this :
1 | |
You should get files organized like this:
1 2 3 4 5 6 7 8 9 10 11 12 13 14 15 16 17 18 19 20 21 22 23 24 25 26 27 28 29 30 31 32 | |
set folder permissions :
1 | |
Installation Directory Requirements (Important Note)
In the examples above, SQLFlow is extracted under the directory /wings/sqlflow.
Please note that this directory path is only used as an example and is NOT mandatory.
SQLFlow can be installed and executed from any directory, as long as the following conditions are met:
- The directory is owned by the current user or the user has sufficient permissions
- The directory has execute permissions (recommended:
755) - The user running SQLFlow has read, write, and execute access to the directory
Example
You may extract SQLFlow to any preferred location, for example:
1 2 3 | |
1 | |
Permission Considerations
Installing SQLFlow under system directories such as /wings or /opt may require sudo privileges
Installing under a user-owned directory (e.g. /home/<user>/sqlflow) avoids permission-related issues and is often recommended
As long as the above permission requirements are satisfied, SQLFlow will function correctly regardless of the installation path.
Customize the port
If you don't want to change the default service port you can just ignore this section. Otherwise this section will show you how to customize the port.
1. Default port
- Web port is
8165 - SQLFlow backend service port:
| File | Port |
|---|---|
| eureka.jar | 8761 |
| gspLive.jar | 8165 |
| sqlservice.jar | 8083 |
2. Change the default port in gspLive.sh(gspLive.bat) 
You can change the web or backend api port from 8165 to any available port.
Add the following section in gspLive.sh(or gspLive.bat in Windows):
1 | |

Start Backend Services
start service in background:
1 | |
You can assign the RAM to SQLFlow by specifying the boot parameter when starting the service.
1 | |
The RAM_VALUE could be: 4g 8g 16g 32g or 64g.
SQLFlow will automatically allocate the memory based on the status of the installed server if this parameter is not given. SQLFlow would allocate less than 31 GB memory if that is the case. However, if your total memory is less than 32 GB, SQLFlow would allocate all the remaining memory on your server.
please allow 3-5 minutes to start the service.
use ps -ef|grep java to check those 3 processing are running.
1 2 3 | |
Open SQLFlow
open http://yourdomain.com:8165 to see the SQLFlow.
open http://yourdomain.com:8165/doc.html?lang=en or http://localhost:8165/api/gspLive_backend/doc.html?lang=en to see the Restful API document.
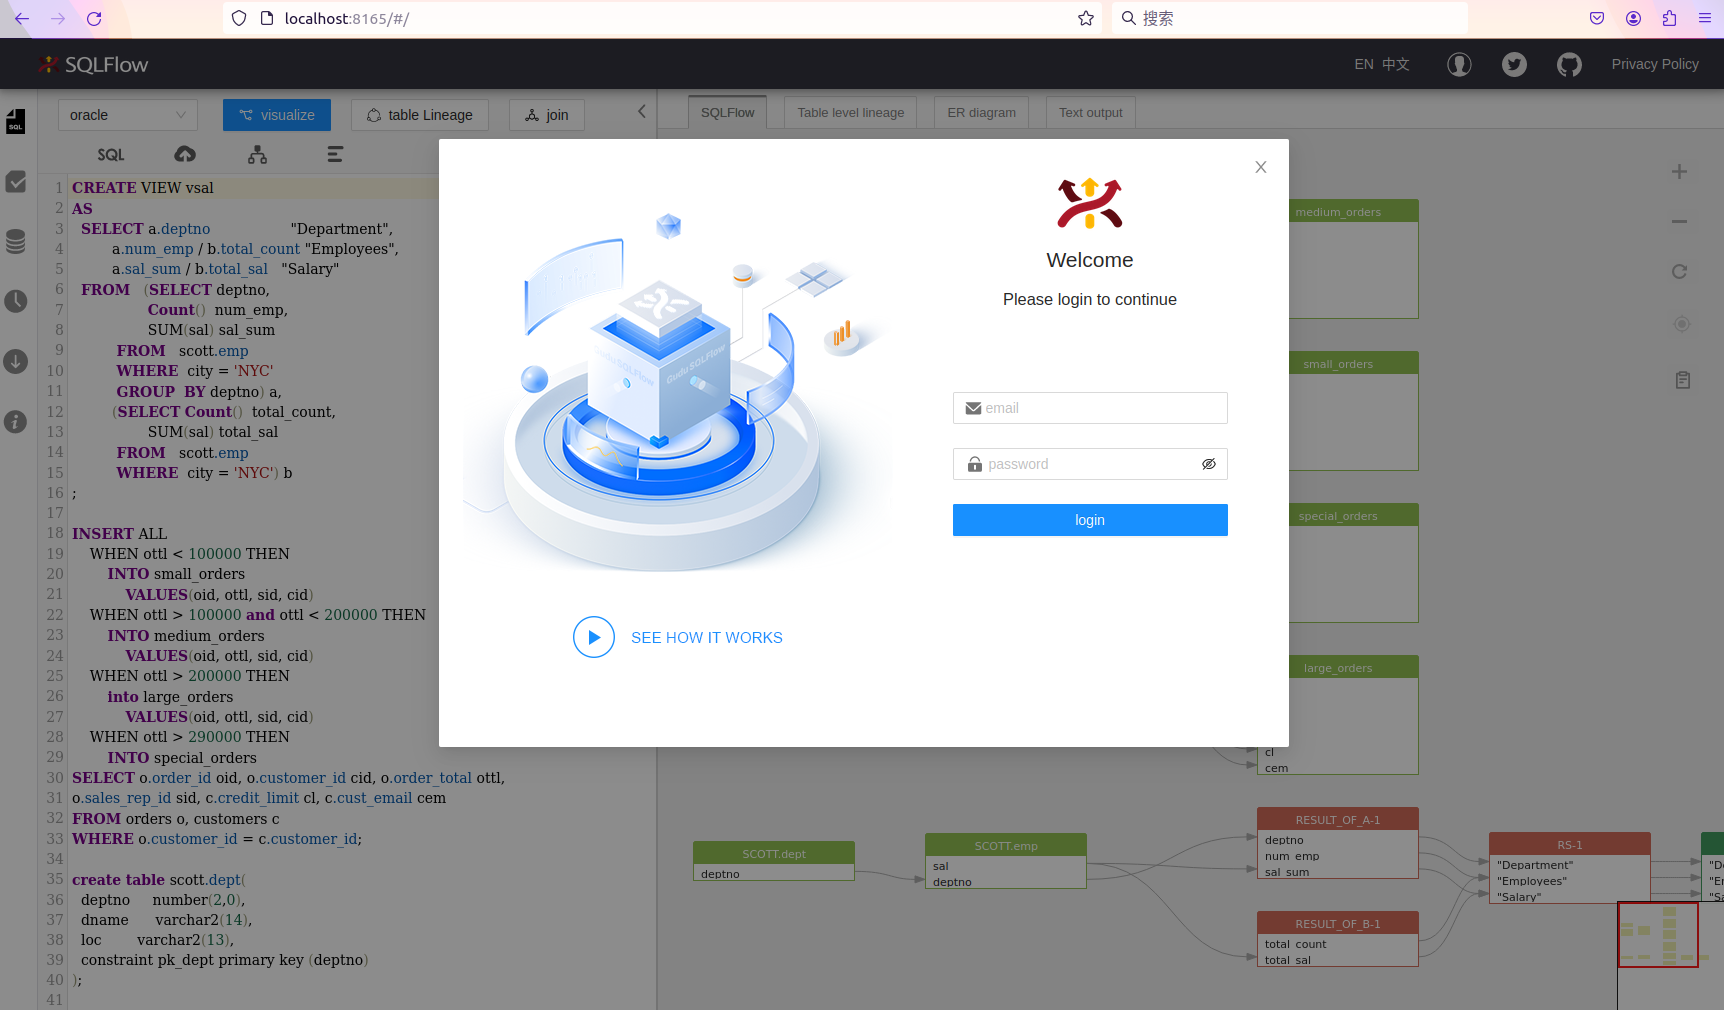
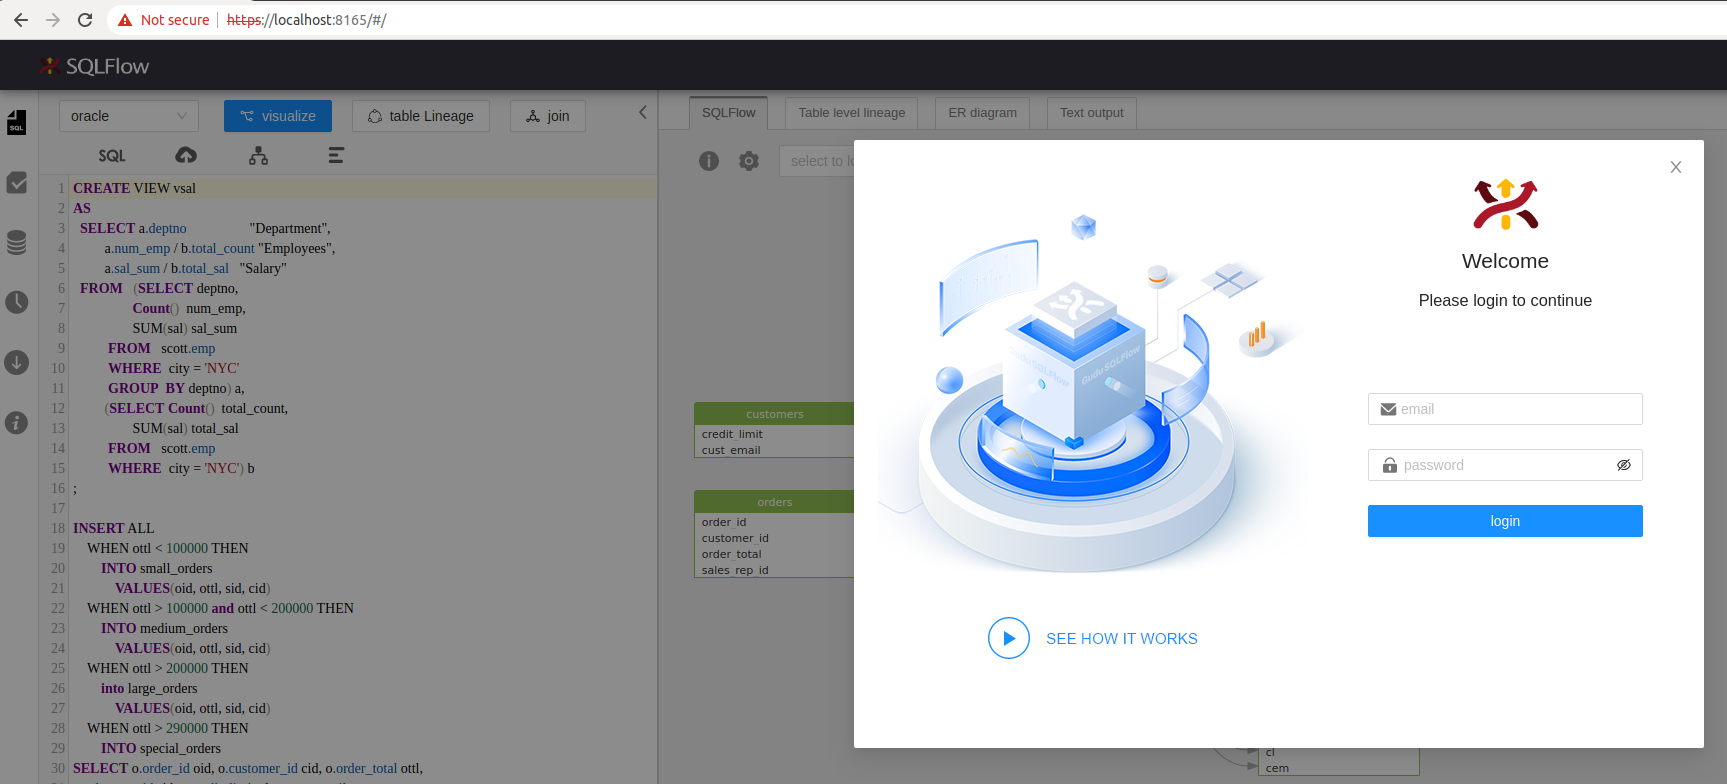
To login, please check the following default user credentials:
Cloud and On-Premise Version
Click here to view the Cloud and On-Premise Version documentation
Gudu SQLFlow License file
If this is the first time you setup the Gudu SQLFlow on a new machine, then, you will see this license UI:

- You send us the Gudu SQLFlow Id (6 characters in red).
- We will generate license file for you based on this id.
- You upload the license file by click the "upload license file" link.
Users can apply for three official license files after purchasing the On-Prem SQLFlow, each designated for production, development, and testing environments.
Backend Services Configuration
sqlflow provides several options to control the service analysis logic. Open the sqlservice configuration file(conf/gudu_sqlflow.conf)
- user_token_expire_hours: default value is 24. User can customize the TTL of the token by setting this field. In case user_token_expire_hours less than or equals to 0, the user token would never expire.
- ignore_user_token: default value is false, token auth is skipped in case the value is set to true. When the
ignore_user_tokenoption is turned on, users are no longer required to login and account icon will disappear. As a result, the system does not enforce team management since any user can access it without authentication. - relation_limit: default value is 1000. When the count of selected object relations is greater than relation_limit, sqlflow will fallback to the simple mode, ignore all the record sets. If the relations of simple mode are still greater than relation_limit, sqlflow will only show the summary information.
- big_sql_size: default value is 4096. If the sql length is greater than big_sql_size, sqlflow submit the sql in the work queue and execute it. If the work queue is full, sqlflow throws an exception and returns error message "Sorry, the service is busy. Please try again later."
- split_sql_size: default value is 5MB. When a SQL statement exceeds this size, SQLFlow will split it into smaller chunks before processing. This reduces peak memory usage and helps SQLFlow handle very large SQL workloads on systems with limited RAM. Adjust this value according to your available memory and workload (for example, "10MB" or "512KB").
SQLFlow client api call
- Get userId from the account profile page and generate the secrete key
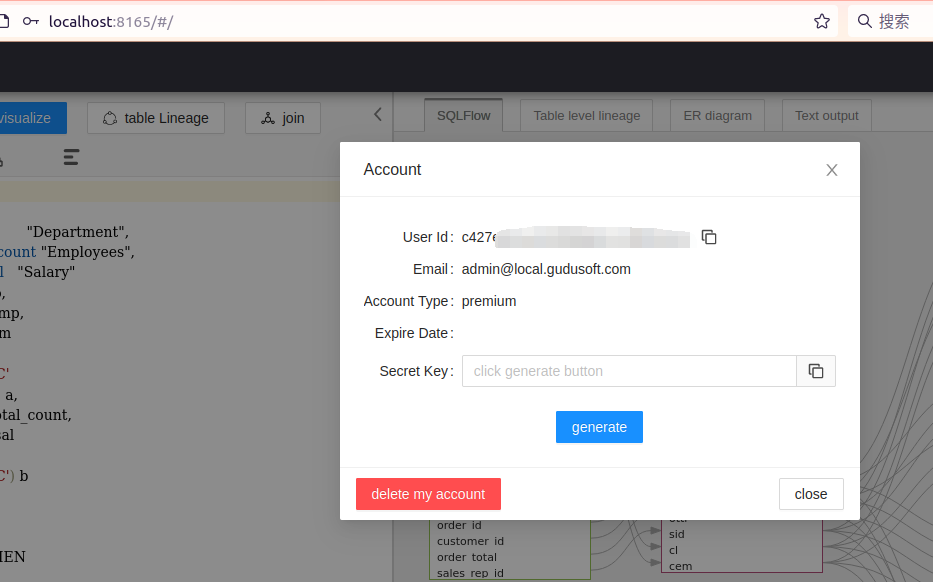
- Generate token by invoking the token generate API
1 2 | |
-
Test webapi by curl
- test sql:
1select name from user- curl command:
1
2
3
4
5
6
curl --location 'http://localhost:8165/api/gspLive_backend/sqlflow/generation/sqlflow' \ --header 'accept: application/json;charset=utf-8' \ --form 'userId="<USER ID>"' \ --form 'dbvendor="dbvoracle"' \ --form 'sqltext="select name from user"' \ --form 'token="<TOKEN>"'- response:
 1
 2
 3
 4
 5
 6
 7
 8
 9
10
11
12
13
{ "code": 200, "data": { "dbvendor": "dbvoracle", "dbobjs": [ ... ], "relations": [ ... ] }, "sessionId": ... }- If the code returns 401, please check the userId is set or the userId is valid.
Enable Regular Job
If you need to enable regular job feature on your sqlflow on-premiser, you will also need to install Clickhouse on your server. Check here for Clickhouse installation:
Clickhouse Installation
Click here to view the Clickhouse Installation documentation
Enable HTTPS
To use HTTPS with your domain name, you need a SSL or TLS certificate installed. You can directly buy a certificate from CA. If you don't need a recognized certificate, you can generate one by yourselves.
To generate the certificate files, you can use the following commands:
1 2 3 4 | |
You will have sqlflow_keystore.p12 and sqlflow-pkcs8.key generated with the above commands.
Copy sqlflow_keystore.p12 and sqlflow-pkcs8.key to /wings/sqlflow/backend/conf and add following configs in /wings/sqlflow/backend/bin/gspLive.sh:
1 | |

Restart the SQLFlow and https is now enabled.